Your car isn’t actually scratched. It’s just hiding under a web of “swirl marks.” Here is how to safely restore that showroom mirror finish in your driveway.
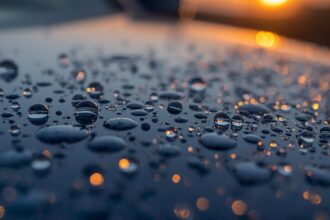
You just washed your car. From 10 feet away, it looks amazing. But when the sun hits it at the right angle, you see it: millions of tiny spiderweb scratches covering the paint. This is called Swirl Marks. And no amount of expensive wax will hide them.
Welcome to the world of Paint Correction. This is the art of physically leveling your clear coat to make it perfectly flat again. In this guide, we will walk you through the entire process—from buying your first DA Polisher to achieving that deep, wet gloss.
1. What is Paint Correction? (And why Wax isn’t enough)
Think of your car’s clear coat like a frozen lake. When it’s perfectly flat, you can see the fish at the bottom (the base coat color). But every time you wash your car with a dirty sponge, you cut tiny grooves into that ice. Light hits these grooves and scatters in all directions. That’s a “swirl mark.”
Wax is like pouring water on the ice. It fills the gaps temporarily. Correction is like resurfacing the ice. You actually remove a microscopic layer of clear coat to make the surface flat again.
Warning: Paint correction is destructive by nature. You have a finite amount of clear coat. Do not do this every month. Once a year (or every 2 years) is enough.
2. The Arsenal: What you need
Don’t be intimidated by rotary buffers that burn paint. In 2026, we use Dual Action (DA) Polishers. They are safe, idiot-proof, and affordable.
The Hardware
- Dual Action Polisher: We recommend the Griot’s Garage G9 or Maxshine M15. Do not try this by hand—your arm will fall off before you finish the hood.
- Backing Plate: Usually 5-inch is best for control.
- Pads:
- Microfiber Cutting Pad: For heavy scratches.
- Orange Foam Pad: For medium swirls (The workhorse).
- White Foam Pad: For finishing polish.
The Chemicals
- Compound: This is “liquid sandpaper.” (e.g., Meguiar’s M105 or Koch Chemie H8).
- Polish: Finer grit to restore gloss. (e.g., Meguiar’s M205 or Sonax Perfect Finish).
- Prep Spray: Isopropyl Alcohol mix to wipe off oils.
Check Our Recommended Starter Kit on Amazon
3. The Prep (Crucial Step)
You cannot polish a dirty car. If there is a single grain of sand on your paint, the polisher will grind it into the surface at 4000 RPM, creating deep pigtail scratches.
- Strip Wash: Use dish soap to remove old wax.
- Iron Decon: Spray an iron remover to bleed out brake dust.
- Clay Bar: Run your hand over the paint in a plastic bag. If it feels rough, you must clay it until it’s smooth as glass.
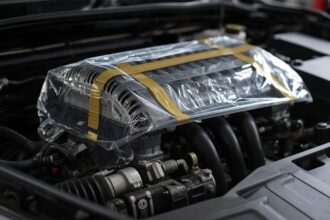
- Tape it up: Use masking tape on plastic trim and rubber seals. Polish will stain black plastic white forever.
4. The Process: Cut & Finish
Step A: The Test Spot
Never polish the whole car at once. Pick a 2×2 foot section on the hood.
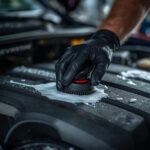
- Put 4 dots of Compound on your Orange Pad.
- Set machine speed to 4-5.
- Move slowly (1 inch per second). Apply moderate pressure.
- Do a “Cross-Hatch” pattern: Go left-right, then up-down. That’s one “pass”.
- Wipe off residue and inspect with a flashlight.
Did the scratches vanish?
- Yes: Great, continue around the car.
- No: Switch to a more aggressive Microfiber Pad and try again.
Step B: The Correction (Cutting)
Work in small sections. Do not rush. Keep the pad flat. If you angle it, you stop the rotation (on a DA polisher) and stop correcting. Clean your pad often! A clogged pad stops cutting and starts heating up the paint.
Step C: The Polish (Refining)
After compounding, the heavy scratches are gone, but the paint might look slightly hazy (micro-marring).
- Switch to a White Pad and Finishing Polish.
- Repeat the cross-hatch motion but with less pressure.
- This restores that deep, jeweled “wet look.”
5. Locking it in (Protection)
Congratulations, your paint is naked and perfect. If you leave it now, UV rays and bird droppings will eat it alive.
You have three choices:
- Carnauba Wax: Warm glow, lasts 4 weeks. (Old school).
- Synthetic Sealant: Glassy look, lasts 6 months. (e.g., Jescar Power Lock).
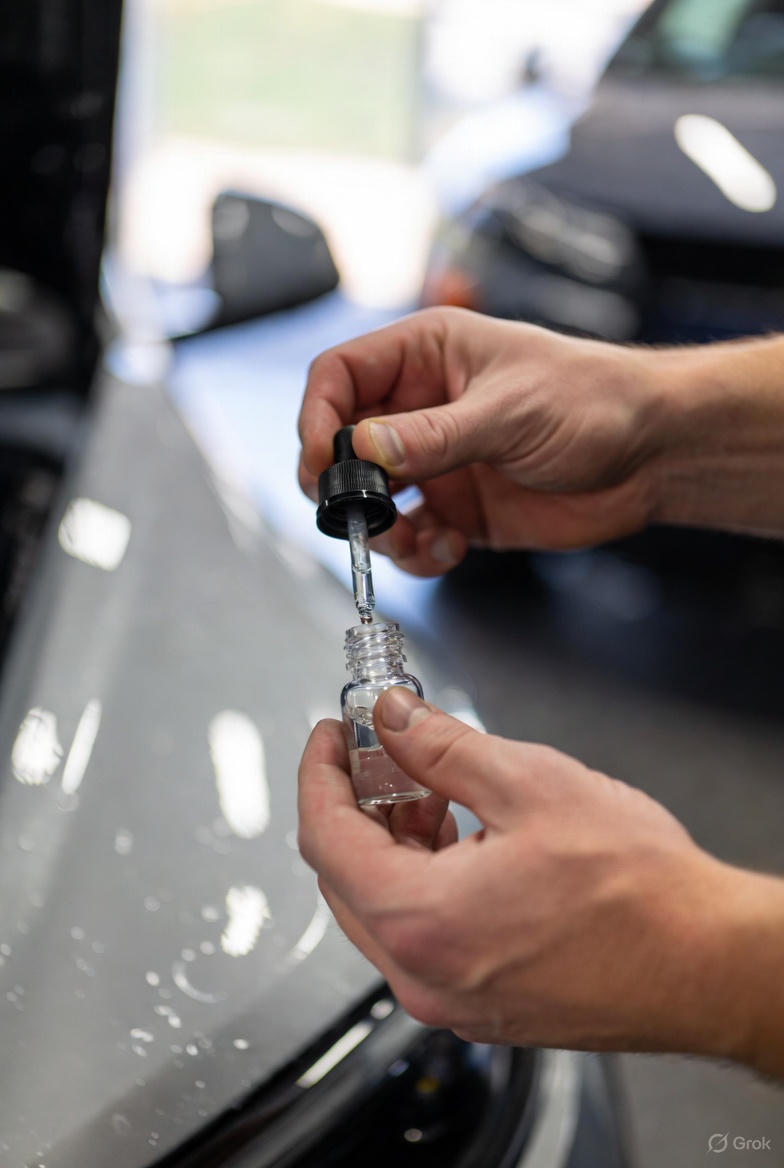
- Ceramic Coating: Hard candy shell, lasts 2+ years. (Recommended for fresh correction).
Our Pick: Since you just did all this hard work, put a Ceramic Coating on it. See our Guide to DIY Ceramic Coatings for recommendations.
6. Common Mistakes to Avoid
- Too much product: If polish is slinging everywhere, you used too much. 3 pea-sized drops are enough after the pad is primed.
- Moving too fast: The machine needs time to work the abrasives. Slow down.
- Not enough pads: You cannot do a whole car with one pad. It will get soft and hot. You need at least 4-5 cutting pads per car.
Conclusion
Paint correction is the most rewarding job in detailing. Taking a 10-year-old car that looks gray and scratched, and turning it into a black mirror that reflects the clouds—that is true Auto Pride.