It is the most neglected part of any vehicle. You wash the paint, vacuum the interior, and shine the tires. But pop the hood, and it’s a disaster zone of grease and dust.
Most car owners are terrified of cleaning their engine bay. The fear is understandable: electricity and water don’t mix, right? You imagine spraying the engine and watching the dashboard light up like a Christmas tree, followed by a hefty repair bill.
The truth is, modern engines are remarkably resilient. They are weather-sealed to handle driving through rainstorms at 70 mph. A little water, applied correctly, won’t hurt them.
This guide will show you how to safely degrease and dress your engine bay to make it look factory-new in under 30 minutes. No pressure washer required.
Why bother?
- Resale Value: A clean engine tells a buyer the car was loved. It can add hundreds of dollars to the perceived value.
- Maintenance: It’s easier to spot fresh oil leaks or cracked hoses on a clean engine than on one covered in 10 years of grime.
- Heat Dissipation: Layers of dirt and grease act as insulation. A clean engine actually runs slightly cooler.
Step 1: The “Cool Down” Rule
Never spray cold water on a hot engine. If you just drove the car, pop the hood and wait at least 30-45 minutes. Spraying cold water on hot exhaust headers can crack the metal or warp components due to thermal shock. The engine can be warm, but it shouldn’t be hot to the touch.
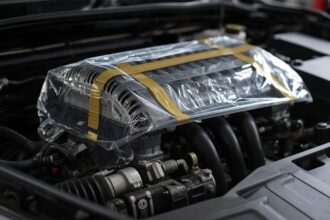
Step 2: Cover the “No-Fly Zones”
While engines are water-resistant, they aren’t waterproof. You need to protect the sensitive electronics. Grab a few plastic bags (grocery bags work fine) and cover:
- The Alternator: (The part with copper windings visible inside).
- The Air Intake: (Especially if you have an exposed aftermarket cone filter).
- The Battery Terminals: (If exposed).
- Fuse Box: (If the lid is loose).
Tip: Use a rubber band or masking tape to secure the bags so they don’t blow away.
Step 3: Dry Dusting
Before getting anything wet, grab a shop vac or a leaf blower. Blow out the loose leaves, pine needles, and dead bugs trapped in the cowl (the area near the windshield wipers). If you get them wet, they turn into a sludge that is hard to remove.
Step 4: The Degreaser
You don’t need expensive “Engine Shampoos.” A standard All-Purpose Cleaner (APC) diluted 4:1 or a dedicated citrus degreaser works wonders.
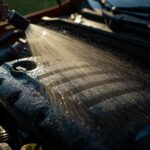
- Rinse the engine bay lightly with a garden hose. Use the “Mist” or “Shower” setting. Do not use high pressure. You want to wet the surface, not blast water into seals.
- Spray your degreaser liberally over everything—hoses, plastic covers, firewall, and fluid reservoirs.
- Let it dwell for 3-5 minutes. Do not let it dry.
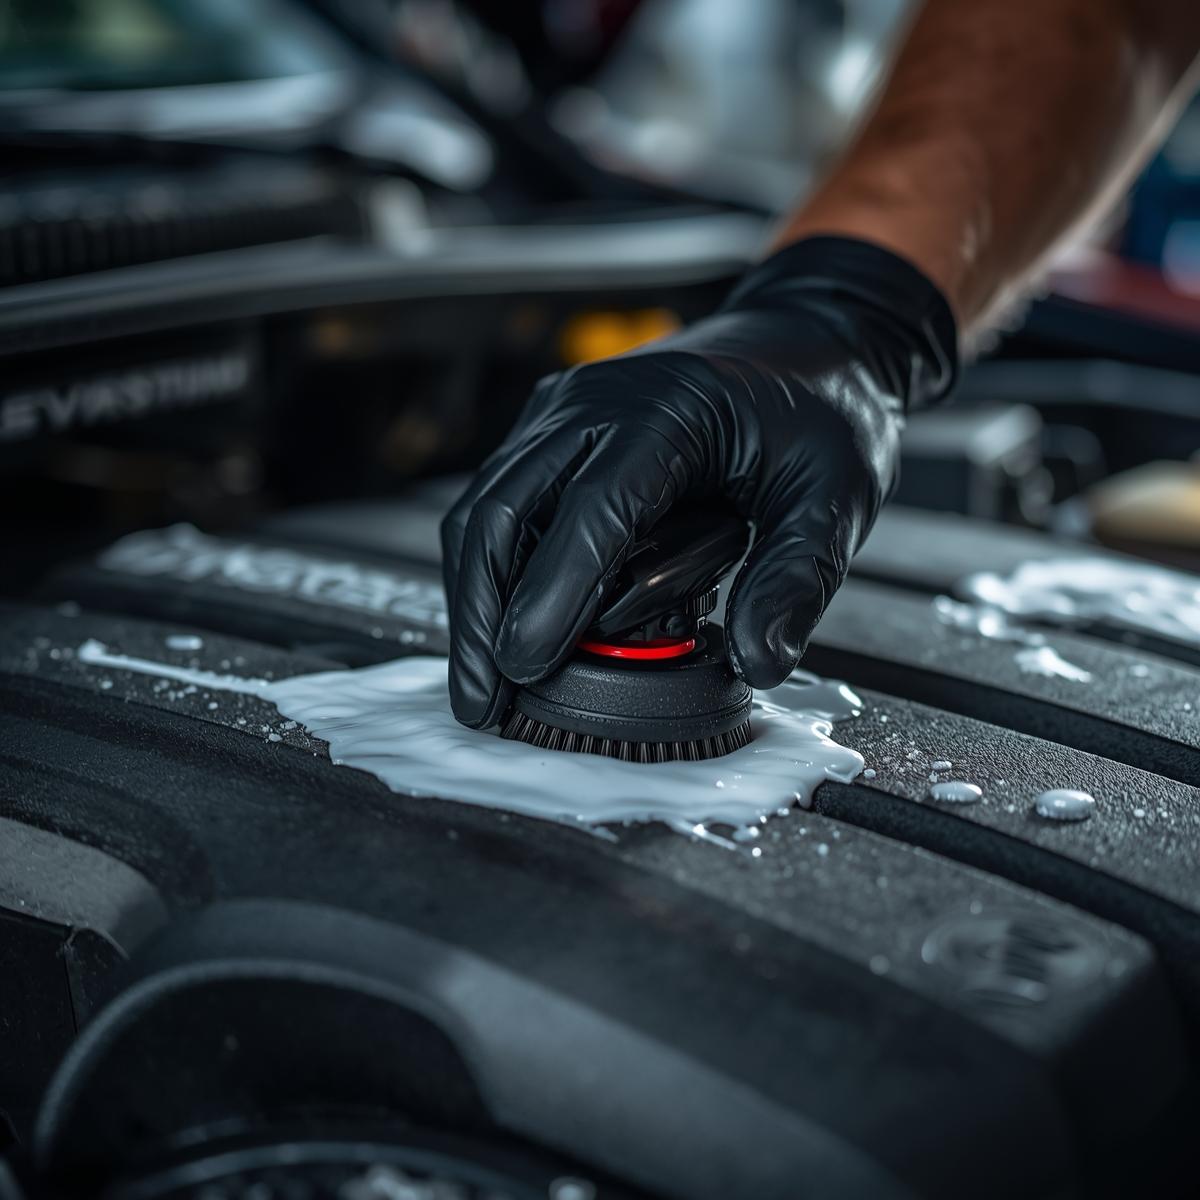
Step 5: Agitation (The Secret Step)
Spraying and rinsing won’t remove the baked-on grime. You need to agitate. Use a soft bristle detailing brush (or an old paintbrush) to work the degreaser into the nooks and crannies. Focus on:
- Fluid reservoir caps.
- Valve covers.
- Plastic engine covers.
For accessible metal parts, you can use a slightly stiffer brush, but keep it gentle on plastics to avoid scratching them.
Step 6: The Rinse
Rinse everything off using a gentle stream of water. Again, avoid blasting directly at electrical connectors, spark plug coil packs, or the fuse box. Keep the hose moving. Once rinsed, remove the plastic bags you placed in Step 2.
Step 7: Drying
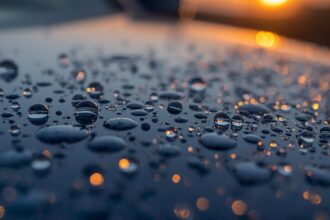
This is critical to prevent water spots.
- Air: Use a leaf blower or a car dryer to blast water out of the crevices and bolt heads. This is the most effective method.
- Towel: Wipe down the large accessible surfaces with an old microfiber towel (don’t use your good paint towels here, they will get greasy).
- Heat: Start the engine and let it idle for 5 minutes. The engine heat will help evaporate the remaining moisture.
Step 8: Dressing (The “New Car” Look)
Right now, the plastics probably look clean but dull or gray. To get that showroom finish, apply a water-based plastic dressing.
- Avoid: Silicone-based, oily sprays (like cheap tire shine). They attract dust and turn brown over time.
- Use: A dry-to-the-touch dressing.
Spray it onto the plastic covers and hoses. Wipe off any excess with a towel to leave a satin, matte finish. This restores the deep black color and protects the rubber from cracking.
Conclusion
That’s it. You didn’t short-circuit anything, and your engine looks like it just rolled off the assembly line. Doing this once a year is usually enough to maintain that “Auto Pride” standard.